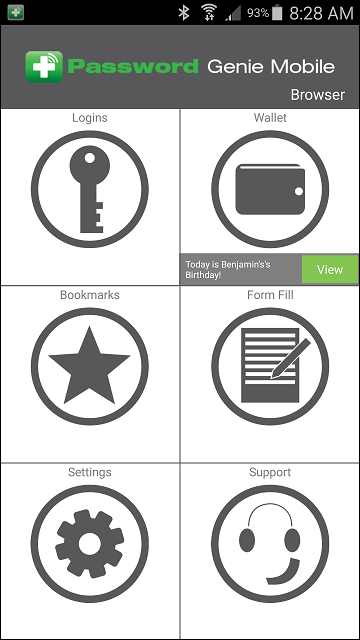
To set up a form-fill profile, press the Form-Fill icon from the Main Menu.
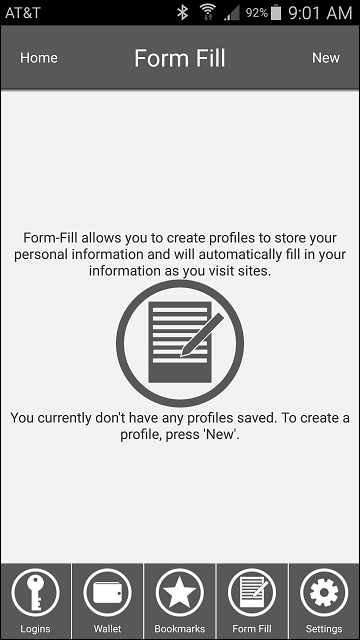
Then, press the “New” button at the top of the screen. You’ll be asked to provide a name and description for the new profile. These are required fields; all other fields beyond this point are optional.
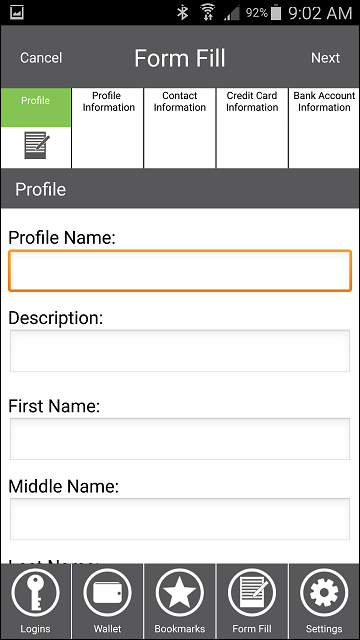
When ready, press Next to proceed to the profile information screen.
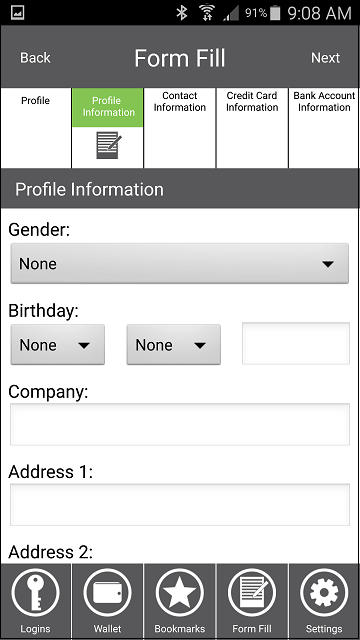
Here you can enter your name, address, etc the standard fields used by most online forms. Once you’ve entered the desired information, press Next to proceed to the next screen, contact information.
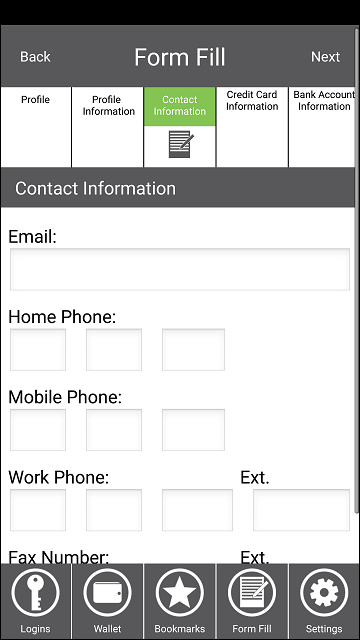
Here you can enter your email address and various phone numbers if desired. When ready, press Next to continue to the next screen, credit card information.
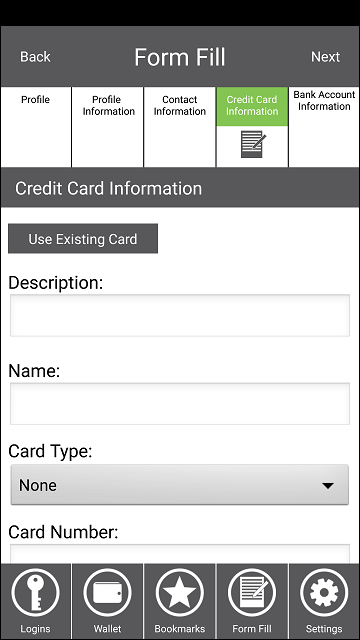
Here you can enter your credit card information; useful when you’d like to auto-fill online shopping sites. If you have a credit card entry already saved within Password Genie, you can import it directly into this form:
Once completed, press Next once more to proceed to the final screen, bank account information.
Here you may enter your bank account details; handy when auto-filling your monthly bill payments. If you have a bank account entry already saved within Password Genie, you can import it directly into this form:
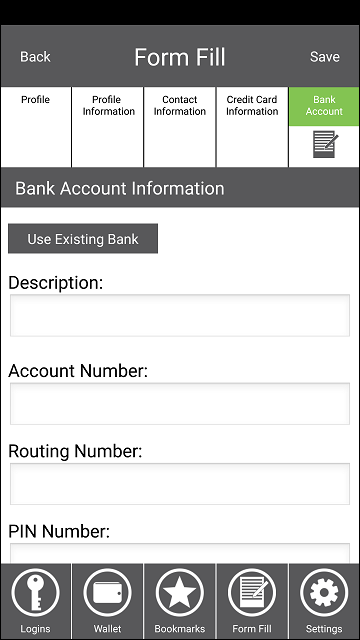
When you’re finished, press the Save button. That’s all! You’ve successfully created a form-fill profile. Again, keep in mind that you do not have to fill out all fields and all screens; you can save and exit the profile creation process at any time (and you can always come back and edit a profile later).


